

Join the robot's setup network, open the setup page, and connect it to your local Wi-Fi.
Software
Setup Address
After joining Robot-Setup, open http://192.168.4.1/setup/wifi. The robot serves this page from its temporary setup network.
Software
When the robot is not connected to Wi-Fi, it starts a temporary network named Robot-Setup. Join this network from the device you will use for setup.
Power on the robot
Wait for the robot to finish booting, then look for Robot-Setup in your Wi-Fi list.
Join Robot-Setup
Connect your phone, tablet, or computer to Robot-Setup with the password robotsetup123.
Open the setup page
Open http://192.168.4.1/setup/wifi in a browser and wait for the robot to scan nearby Wi-Fi networks.
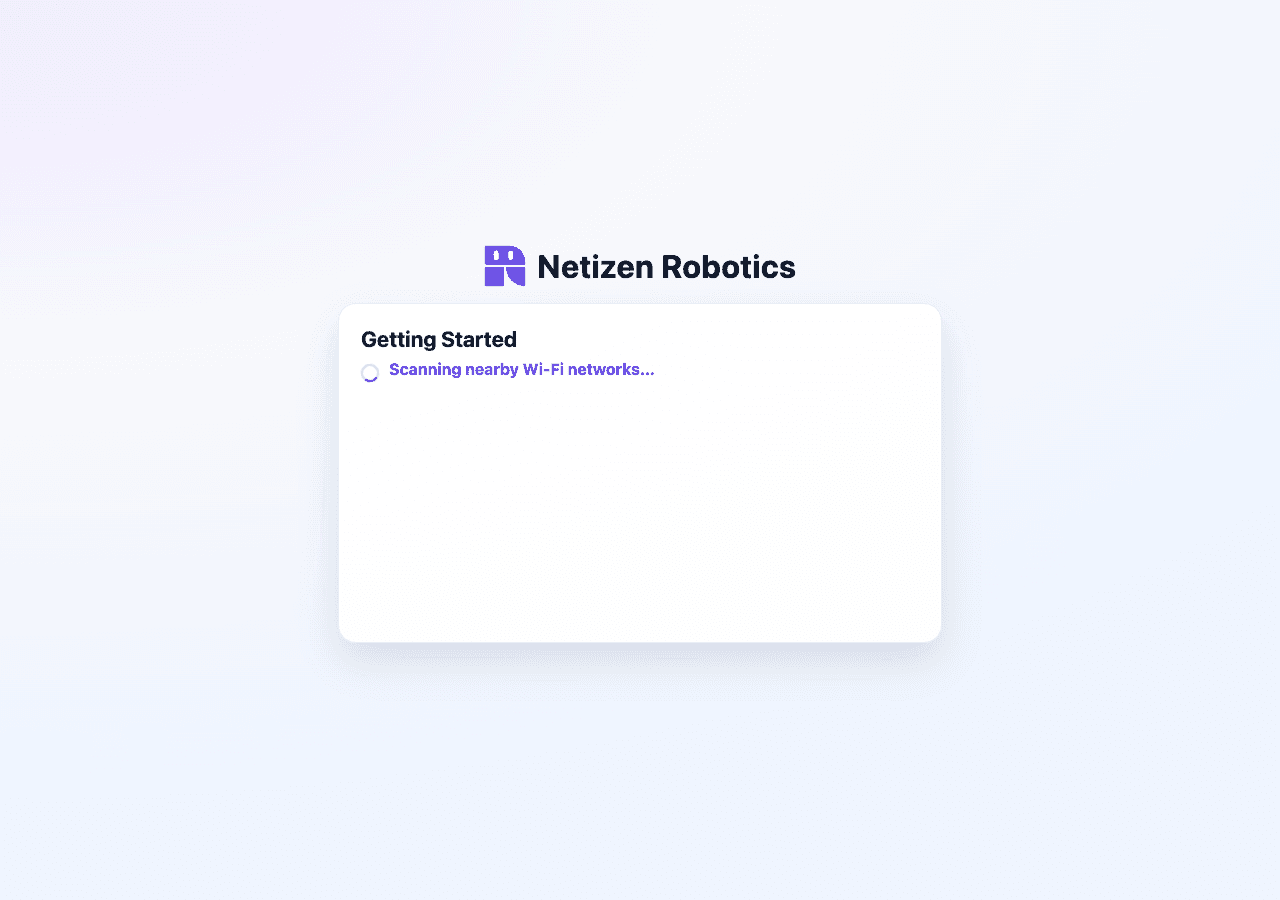
Nearby Wi-Fi Scan
The robot scans for nearby Wi-Fi networks before showing the network selector.
Software
Wait for the network list
The robot hides the setup network and shows nearby Wi-Fi networks it can join.
Choose the target network
Select the Wi-Fi network the robot should use after setup.
Enter the password
Type the Wi-Fi password. Use Show if you need to check it before submitting.
Connect the robot
Click Connect WiFi to save the selected network and password on the robot.
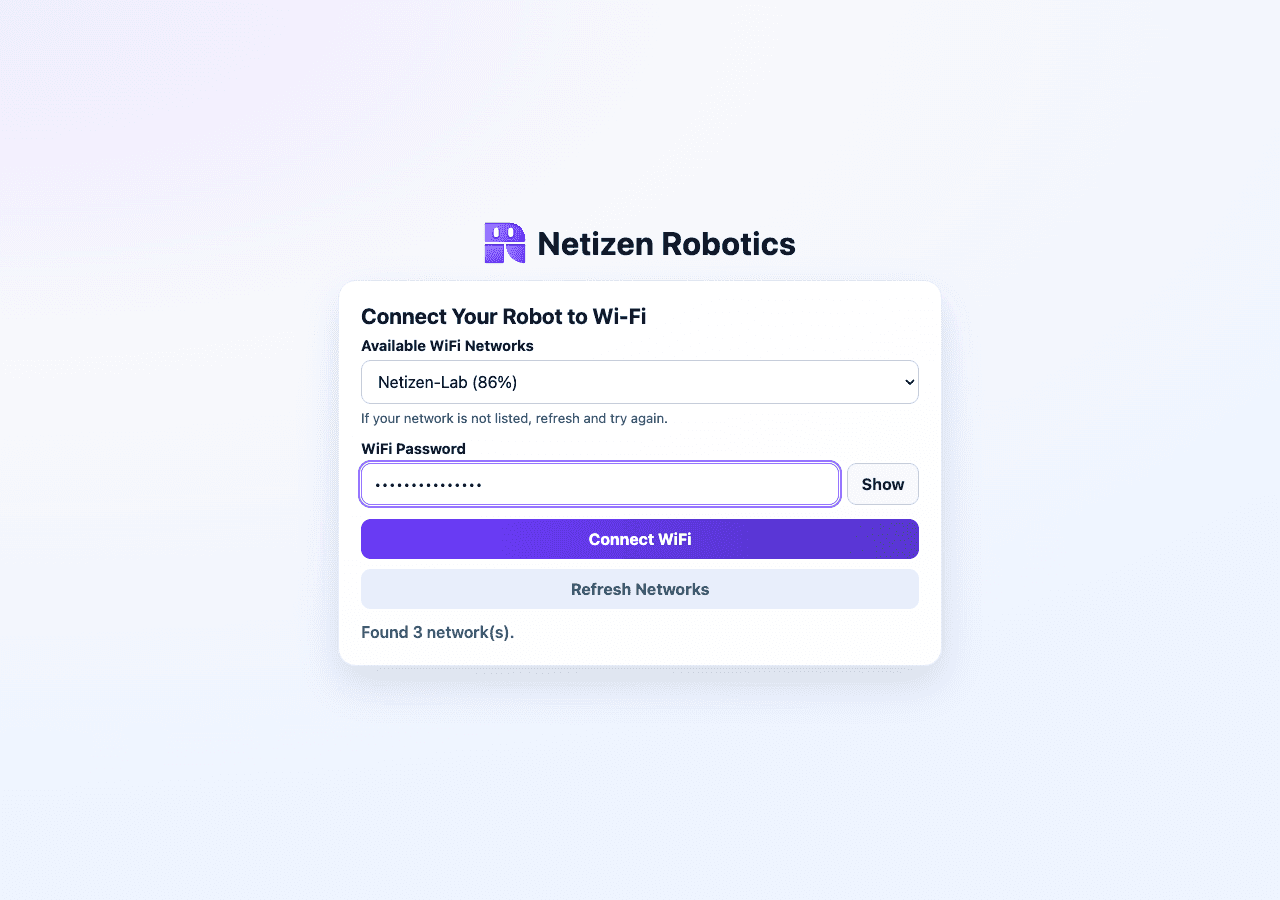
Target Wi-Fi Selection
Choose the network the robot should use after setup, then enter the network password.
Software
After you click Connect WiFi, the setup page shows that settings are being applied. Robot-Setup may disconnect while the robot joins the selected Wi-Fi network.
Wait for settings to apply
Leave the setup page open until the applying message appears.
Reconnect your device
If your device disconnects, join the same Wi-Fi network you selected for the robot.
Continue to dashboard pairing
Once the robot is on the target Wi-Fi, continue to dashboard pairing.
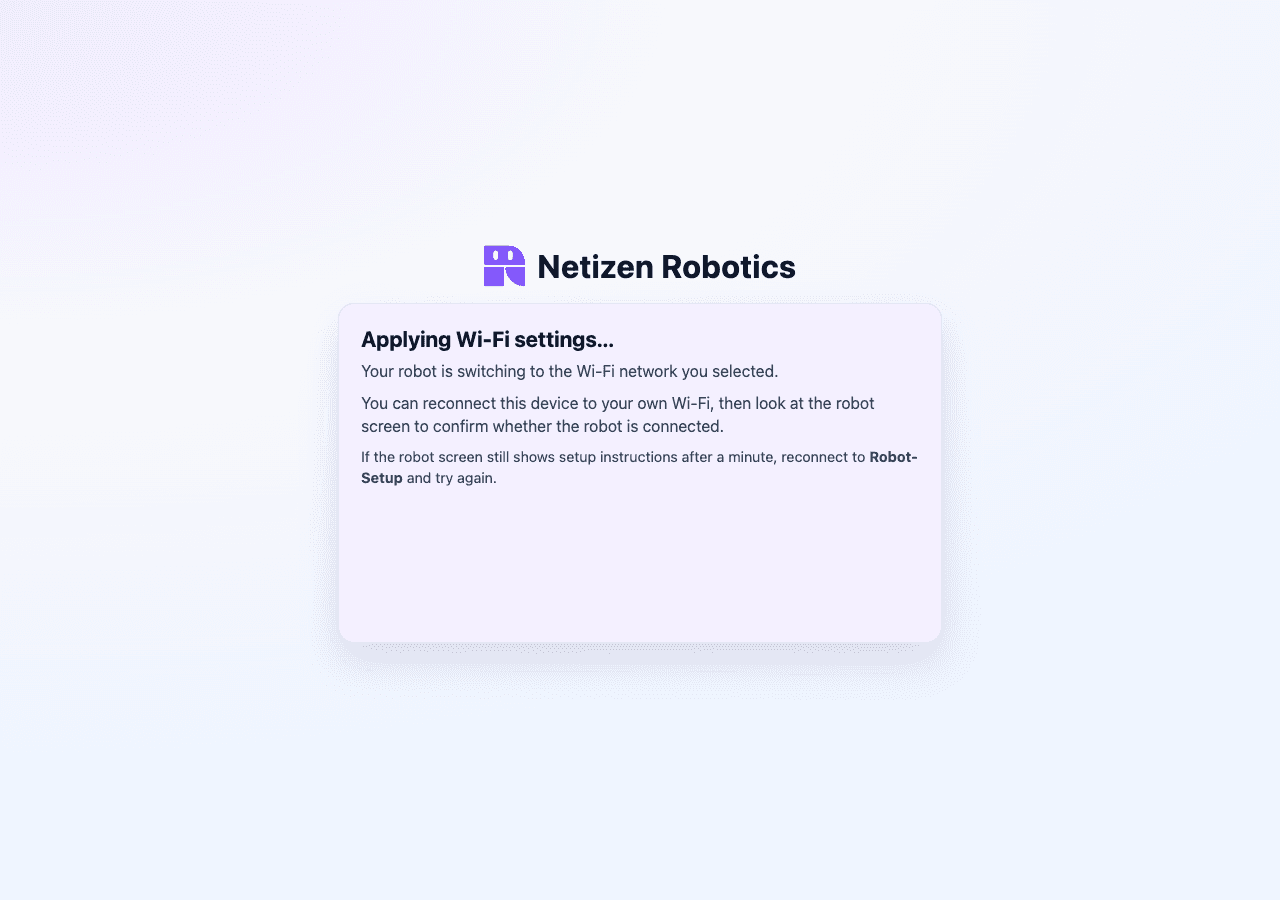
Applying Wi-Fi Settings
The robot applies the Wi-Fi details and leaves the temporary setup network.
Next Step
After the robot connects to the target Wi-Fi, continue to dashboard pairing.
Software